I had forever used every excuse to avoid anything made of Ragi, till my mom made Ragi Idli – a favorite in Mangalore. Mom served it chilled...yes...chilled for breakfast on a bright sunny morning! The Idlis were soft, smooth and tasted like pudding. It was an instant hit not only with me but also my Dad – who detested Ragi more than I did before he tried these Idlis.
Better known in Konkani as
Nannchanne Dhuddali (
Nannchanna means Ragi, Dhuddali – name given the Idli prepared this way), it is served in most authentic Konkani restaurants in Mangalore and also sold as individual cakes. The demand for these is such that specialty stores in Mangalore, which sell them, run out of their stock for the day within an hour or so.
Ragi Info:
Ragi or Finger Millet, as it is popularly known, is grown mostly in arid and semi arid regions of the tropics and sub tropics of the world. A staple food crop in many drought prone regions it is an excellent dietary source of
methionine - an amino acid that cannot be produced in the body, and so must be provided through diet. It belongs to a group of compounds called
lipotropics that aid the liver to process fat in the body. Other names for Ragi: birdsfoot millet, coracana millet, African millet.
Though the first time we had these idlis was in summer, there is no specific season to make these Idlis or reason to avoid them in winter. The only difference is probably, in winter it is served at room temperature, while in summer it is chilled. Though a little time consuming to make, it’s worth a try and many more. With the New Year resolutions and “diet plans” on full swing, it’s certainly a healthier alternative for a weekend breakfast.
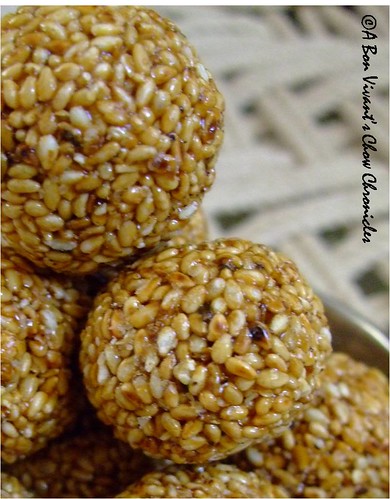
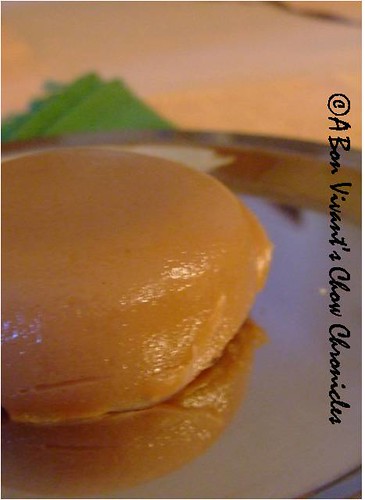
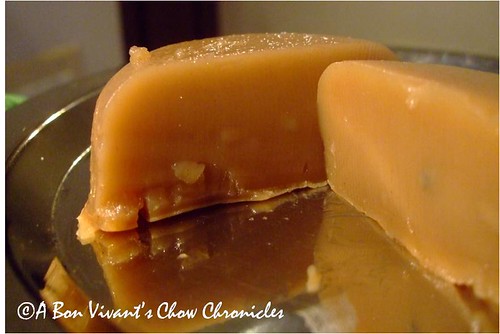 This is the texture inside, when the idli is halved
.
Ingredients
1 cups Ragi flour
If using whole Ragi seeds, use 2 cups of seeds.
¼ cup grated coconut½ teaspoon finely powdered cardamom1 tablespoon clarified butter or gheeCooking oil (vegetable or Canola) that is not very strong could be used in place of clarified butter/ghee or unsalted butter.
¼ cup grated jaggery
Alter the content of Jaggery to match your taste buds. I prefer it to be mildly sweet.
Water 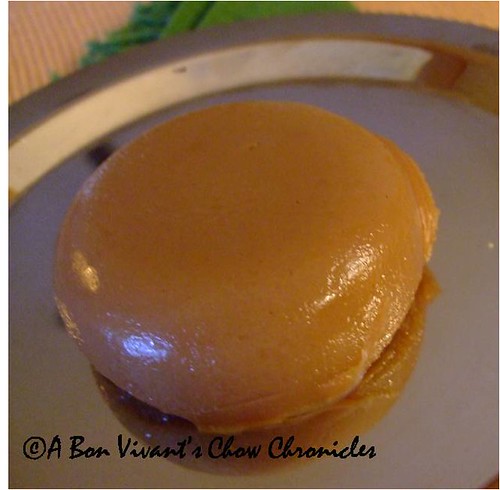 Method
Grind together coconut and Ragi flour, with 1 cup water. You could alternatively mix ragi powder in 1 cup water and mix with coconut and grind together. If you prefer to use seeds then grind seeds with coconut using 2 cups water.
Filter the ground mixture using a thin filter cloth, collecting the filtrate or extract into a large bowl. Filter 3-4 times by adding 1 cup of water each time to the residual mixture in the filter cloth.
Prepare small bowls (diameter less than 6 cms) by spraying or coating with oil.
Heat the filtrate on medium flame for 2-3 mins in a non stick wok. Add in jaggery along with cardamom and stir continuously for 10-15min till the mixture thickens and turns gooey. This make take more than 15 min at times. Add 1 tablespoon of butter and stir continuously for 3-4 min. To see if done, take a teaspoon of the mixture, try to make a ball using fingers. The mixture is done when it does not stick to the finger.
Now pour the mixture into each of the previously prepared bowls. Set aside to cool at room temperature for 20 -25 minutes. Serve chilled or at room temperature.
Alternatively you could grease a plate with oil and pour the mixture into it. Finally cut it into squares or using a cookie cutter and serve.
Chow!